
Tutorials
Creating a Channel
Here you will find step by step instructions on how to create a Channel.Open the WebTV´s Content Administrator. To do it, add /admin to your WebTV´s URL.
Example: http://www.webtvdomain.com/admin
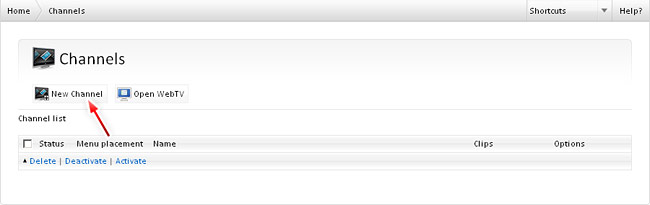
Click on the "Channels" button; the corresponding page will open.
Once inside the "Channels" page click on the "New Channel" button:
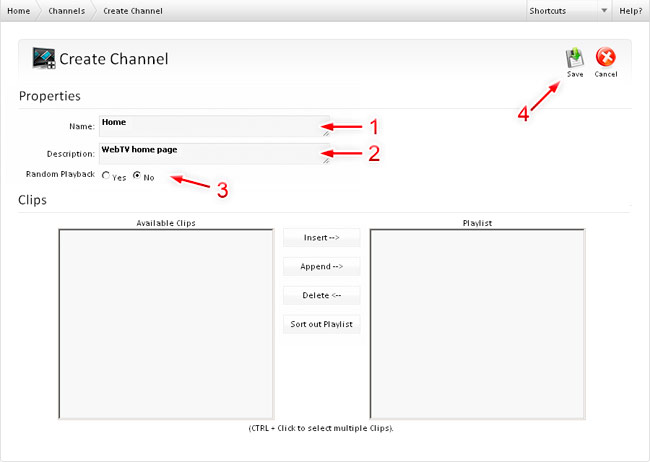
The Channel creation page will open:
1) Enter the Channel "Name". If you have not created a Channel before it is recommended to name it "Home".
2) In the "Description" field enter a brief description for your reference (the description is not public).
3) Select whether the Channel will playback the Clips randomly or not.
NOTE: If you select "No" the Clip playback order will be the specified by the Playlist using the "Sort out Playlist" option. If you select "Yes" the Playlist sorting will be ignored and the Clips will be played back randomly.
Clips: If there are available Clips, they will appear at the bottom-left panel "Available Clips"; you can add or deleted Clips by using the "Insert", "Append" and "Delete" buttons.
4) Click on "Save" and the Channel will be created.
NOTE: All the Channel properties can be edited anytime.
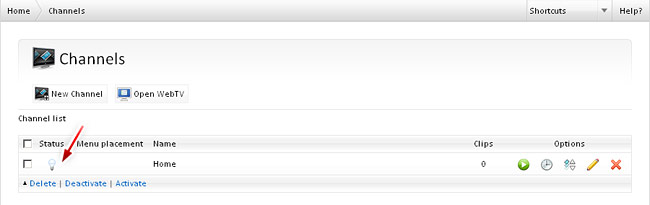
The Channel will appear in the Channel list.
NOTE: Every time a Channel is created, it will have an "Inactive" status, the Channel won´t be publicly available until you decide to activate it.
Activate the Channel by clicking the gray light bulb (once activated it will turn yellow).
(A Channel must be "Active" in order to appear in the WebTV).
That´s all! you just have created a Channel.
In the next tutorial we explain you how to create a Clip:
» Creating a Clip